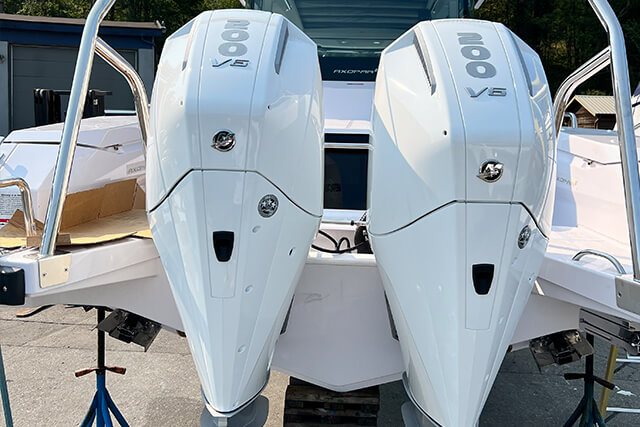
Maintaining your outboard motor is crucial for ensuring its longevity and performance. One of the key maintenance tasks is regularly changing the oil. Here’s a step-by-step guide on how to change the oil on your outboard motor:
What You’ll Need
- New Engine Oil (Ensure you use the engine oil specified for your motor)
- Replacement Oil Filter (Ensure you use the correct oil filter for your motor)
- Funnel
- Rag
- 5L Catch Pan
- Filter Wrench
- Adjustable Wrench
When to Change the Oil
You should change your outboard motor oil every 100 hours or once a year, typically at the end of the boating season. For new motors, change the oil after the initial 20-hour break-in period.
Step-by-Step Instructions
- Warm Up the Engine: Run your boat for 10-15 minutes to bring the engine to its operating temperature. Warm oil flows better, allowing more thorough drainage.
- Position the Catch Pan: Place a catch pan under the drain plug. Using a piece of cardboard can help prevent spills on the ground or garage floor.
- Remove the Dipstick and Oil Filter Cap: This allows air to enter the motor, facilitating better oil flow. Place rags around to protect the bilge area from oil spills.
- Drain the Oil: Place the drain hose into the catch pan and use an adjustable wrench to remove the plug. Allow the oil to drain completely.
- Remove the Oil Filter: Turn the filter counterclockwise to remove it. This can be done by hand, but a filter wrench may be necessary if it’s on tight.
- Prepare the New Filter: Dip your finger in the new oil and lubricate the seal on the new filter. This ensures an airtight seal. Clean off the threads and seal where the new filter will be installed.
- Reinstall the Drain Plug and Add New Oil: Screw the drain plug back in. Using a funnel, pour in the new oil. Most motors require about 3.8 litres but check your manufacturer’s specifications to ensure the right amount of oil.
- Check Oil Levels: Wait 5-10 minutes for the oil to settle. Use the dipstick to check the oil level and add more if needed.
- Check for Leaks: Ensure there are no leaks from the seals or threads. Replace the dipstick and oil cap.
- Dispose of Old Oil: Take the used oil to a recycling facility. Proper disposal is crucial for environmental protection.
Pro Tips
- Use an Oil Pump: For a cleaner oil change, you can use a pump to extract the oil through the dipstick hole.
- Mark the Date: Write the date of the oil change on the oil filter. This helps track maintenance intervals.
- Post-Change Check: After a short run, check the oil levels again as they might drop slightly and require topping off.
Regular oil changes are essential for the health of your outboard motor. Well-maintained boats not only perform better but also have higher resale values. Following these steps ensures your engine runs smoothly and reliably for years to come.
Expert Oil Change for Your Outboard Motor with OS Marine Maintenance & Repair Services
At OS Marine Maintenance & Repair Services, we offer comprehensive boat repair services, regular maintenance, and oil changes for various types of boats. Whether you need mobile boat repair services across the Metro Vancouver area or prefer to visit our fully equipped boat repair shop in Maple Ridge, we’ve got you covered.
Contact us today to ensure your boat is always in top condition.


